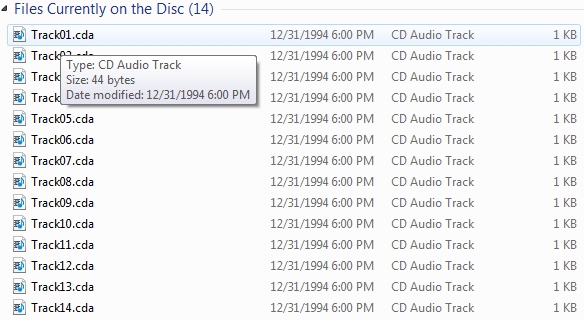
Prepare your .MP3 or .WAV files which are the only files that can be used for an audio CD. Audio CDs must have a total play time of 79 minutes or less. Name your .MP3 or .WAV files with a leading two digit number (e.g. 01First-track.mp3, 02Second-track.mp3 ... 10Final-track.mp3) to make sure they play in the desired order (see below).
Create a .zip or .rar file if your .MP3 or .WAV files. Before we burn the Audio CD, we unzip your .MP3 or .WAV files and use them to create a true Audio CD. The track order is determined by alphanumeric sort order so start each track name with a 2-digit number using leading zeroes (see below).
Upload the zip file directly to the TrepStar project. Once complete, TrepStar approves the project and then you are able to order.
If you have the WAV or MP3 files, it's time to create a folder on your computer for each CD you plan to make. Place the MP3 or WAV files in that folder. WAV files must be 16 bit, 1411 kbps only (see WAV file format section below).
Compress your .MP3 or .WAV files into a single .zip (or .rar) file. If your project is a multi disc set, each disc will need a separate .zip or .rar file. Before we burn the audio CD, we unzip the files first, and use those .MP3 or .WAV files to make the audio CD. Not sure how to zip up files? Learn More
1) You may upload your file directly to the TrepStar Project. Edit your project, click the green upload button, and select your zip file.
2) You may upload your file to your website, then edit the TrepStar project and type in the URL to that file on your server.
3) You may upload your file to a cloud service like Amazon S3. Make that file public, get the URL, then edit the TrepStar project and type in the URL to that file on your server. Learn More about Amazon S3
If you would rather skip the file preparation step, or want complete project setup support, you have a few options. Learn More