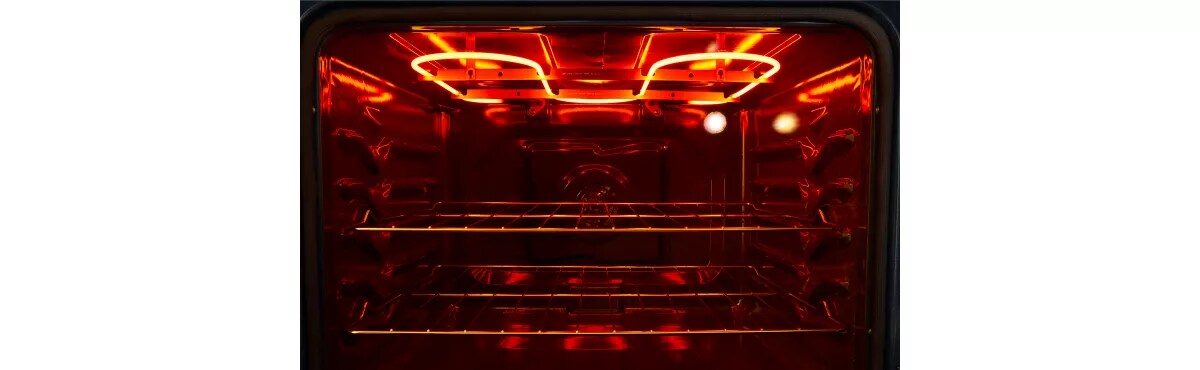
To quickly serve up meat or vegetables with serious color and crispness, switch on the broiler. Select the “Broil” button on your console, wait about five minutes, then load in your dish—closer to the top of the oven for thinner foods and farther away for thicker, tougher foods. Keep a very close eye on cooking progress: this high heat method will burn food if left for too long.
You can also use your broiler to brown or add a finishing crunch to the top of dishes that have already been baked, like mac and cheese or pizza. Read on to learn more about this useful setting so you can make the most of it in future meals.
A broiler, designated by the “Broil” setting, uses the heating element in the top of the oven, applying high temps to the top of dishes for quick, high-heat cooking. Baking, on the other hand, uses both the top and bottom elements at a lower temperature. In that way, broiling is closer to grilling where high heat is focused on one side of food at a time.
Some ovens will have one Broil option, which is typically 500°F to 550°F, while others will let you select between low, medium and high temperatures, or even let you key in the temperature yourself. Low is usually 400°F, medium 450°F and high ranges from 500°F to 550°F.
Some ovens may come with a metal broiling pan, like this one from Maytag brand , consisting of a rack on top and a drip pan underneath. The slits in the top part of the pan allow air to circulate around food while keeping it out of its own juices to help with crisping.
If you don’t have a broiler pan, you can create the same effect by placing an oven-safe cooling or roasting rack, like this one from Maytag brand , on top of a standard metal sheet pan or baking sheet. Baking sheets with raised edges help prevent juices or other messes from dripping onto the bottom of the oven.
Broilers will vary from oven to oven, so refer to your owner’s manual for more specific information about how your broiler works. If you’re cooking with a recipe, consult that as well before beginning. Learn more about using your oven properly .
Find the “Broil” setting on your oven console and turn it on. If available, select the temperature setting based on what you’re cooking: higher for thinner, fast-cooking foods and lower for thicker foods that may take longer to cook through. Let the broiler preheat for at least five minutes.
Find the right cookware for your food. Broiler pans and cast iron skillets are good options but nearly any shallow, metal pan will do. Position the oven rack in the slot directly below the broiler or a couple of slots down, depending on what you’re cooking: closer to the heat for foods that just need a quick sear and farther away if they need some time to fully cook.
Keep a close eye on your dish as it cooks. The high heat of a broiler may burn food if left too long. Depending on the dish, you may want to flip the food to get an even cook and color on all sides. If you notice that it’s browning too fast, move the rack down, lower the temp, or switch to a Bake setting for a bit to help foods cook through, then switch back to Broil. Consult your recipe to be sure.
Use the Broil setting to brown cooked dishes or to help achieve a sear for thinner meats or fish that don’t require a high internal temperature. You can also use the Broil option to crisp vegetables, toast breads or create a crunchy surface for pizza or macaroni and cheese.
Follow these basic guidelines when broiling meat, vegetables, bread and casseroles, keeping in mind that you might need to flip certain foods halfway through their cook time:
Understanding your oven’s Broil setting can be key if you’re trying to achieve your ideal sear or add a crisp, crunchy layer to your favorite dishes. Keep reading to find helpful tips to use when broiling foods.
Use tongs: To help avoid losing juices while broiling, use tongs to flip food when necessary.
Don’t turn thin meats or fish: You may not need to turn very thin cuts of fish or meat when using the Broil setting.
Aside from cooking and browning, you can also use the Broil setting to reheat leftovers to help keep food crispy instead of soggy.
Maytag ® ranges and wall ovens were built to handle years of major meals. With an oven or range from Maytag brand, you can count on serious cooking power meal after meal, whether you're baking, broiling or roasting. Get the perfect sear all year with Grill Mode , available on select Maytag ® ranges. Just insert the grill accessory, and you're on your way to that delicious grilled taste right from the convenience of your kitchen—no backyard needed.
Your subscription was successful
Thank you for signing up. Keep an eye on your inbox for our next newsletter.
Enjoy articles like this? Get helpful guides and appliance care tips sent straight to your inbox.