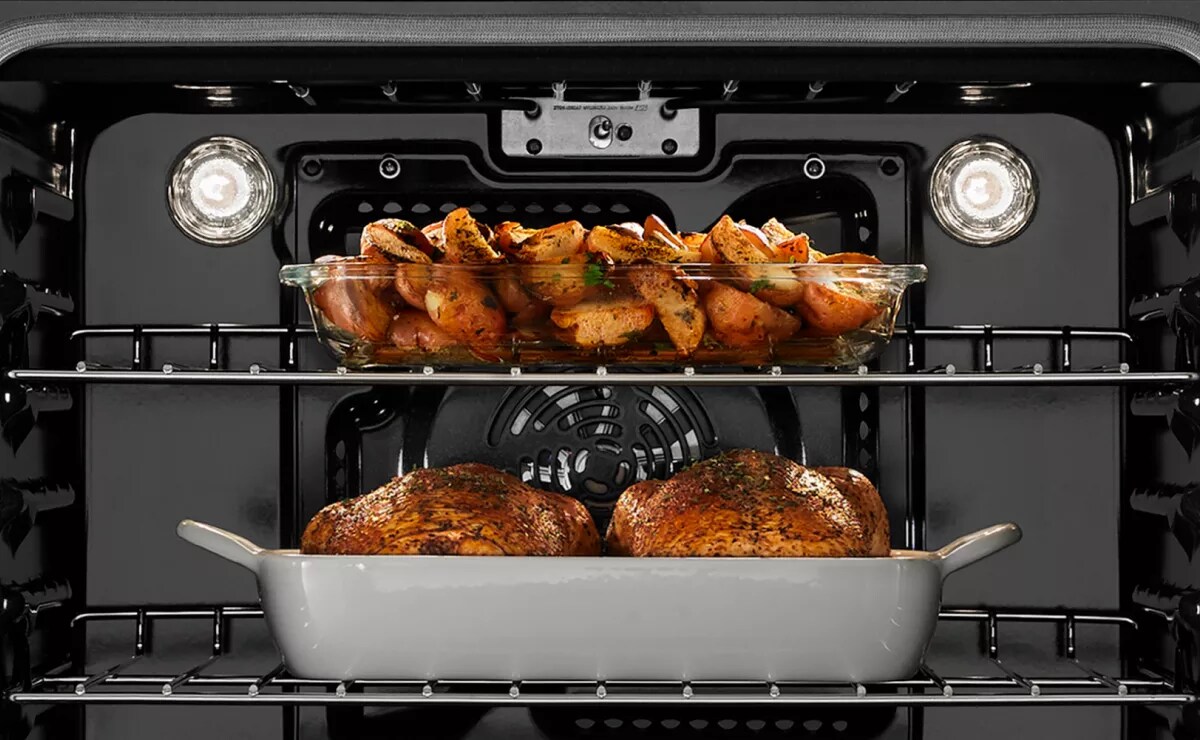
A well-lit oven is essential for effectively tracking the progress of dishes. Oven lights can go out from time to time. If your oven light won’t turn on, it is most likely easy to replace. Replacing an oven light bulb is a quick task that you accomplish yourself. Learn which light you need, where to find it and how to replace it.
If your oven light isn’t working, it doesn’t necessarily mean that it is the light bulb. It could be an issue with the electricity. Check to make sure the power cord is plugged into a working outlet. Double-check that other parts of the oven that run on electricity are working, such as the clock. You can also check the circuit breaker.
With no working light in your oven, it is difficult to see your meals and check their cooking progress. Once you’ve determined that the light bulb is the problem, you can get to work replacing it. Replacing your oven light is a simple task that you can do yourself in just a few steps.
Correct bulb for your oven
Tissue or cotton gloves
Most ovens use a standard 40-watt incandescent appliance bulb (A15), while others may use a halogen bulb up to 50 watts. To know for sure, check your appliance’s Use and Care Guide or wait to remove your current bulb in the next steps, then check it for identifying numbers printed on top or on the metal. Find new bulbs online or at your local hardware store.
Keep in mind that your oven's Use and Care Guide should have model-specific instructions. Begin by unplugging the oven or disconnecting the power using the circuit breaker. Make sure the oven and cooktop are cool and the control knobs are in the off position. Remove racks.
The light bulb is often located in the back of the oven, on the upper right or left side. You can use a flashlight to help you locate it. It should have a clear cover that will need to be removed. An incandescent bulb cover will be larger and often bulbous while a halogen cover is smaller. Get help finding your light with this guide to oven parts . As you are looking for the light bulb, be sure to not put weight on the oven door.
Incandescent : Push the metal strap aside. Turn the cover counterclockwise to remove. Then gently turn the bulb counterclockwise to remove.
Halogen : Grasp the front edge of the cover and pull it away from the oven. If the cover appears to be screwed in, unscrew it. Then, gently pull out the bulb. It should not be difficult to remove.
A light bulb cover can be hard to remove if the oven needs cleaning. Try loosening build-up by applying a few drops of dish soap between the bulb cover and the housing that it's screwed into. Or completely clean your oven using this comprehensive oven cleaning guide .
Incandescent : Screw in the new light bulb, as well as the cover, by turning them clockwise.
Halogen : Oils from your skin can damage halogen bulbs, so use a tissue or cotton gloves to insert the new bulb. Then replace the cover by snapping it back into the wall.
Restore power and test the new light. If the light still doesn't work, the problem may be located somewhere else, like the bulb housing. Check your Use and Care Guide for more troubleshooting tips.
You can use the oven even if the light bulb is burnt out or not working, as long as the light cover is not broken or shattered.
Typically, oven light bulbs last approximately 900 hours. This will vary based on the type of bulb, and your oven among other factors.
If the light bulb keeps burning out, double check that you are using the correct light bulb as indicated in your Use and Care Guide. Light bulbs that frequently burn out could also be due to a wider electrical issue, in which case, you’ll want to schedule a certified repair person to take a look.
You can conveniently schedule service for your Maytag ® oven online.
If it’s time for a kitchen upgrade, you can get the dependability and power you need with an oven from Maytag brand. Select Maytag ® ovens come with features like a Precision Cooking™ system, EvenAir™ True Convection and Power Preheat so you can do dinner right.
Your subscription was successful
Thank you for signing up. Keep an eye on your inbox for our next newsletter.
Enjoy articles like this? Get helpful guides and appliance care tips sent straight to your inbox.