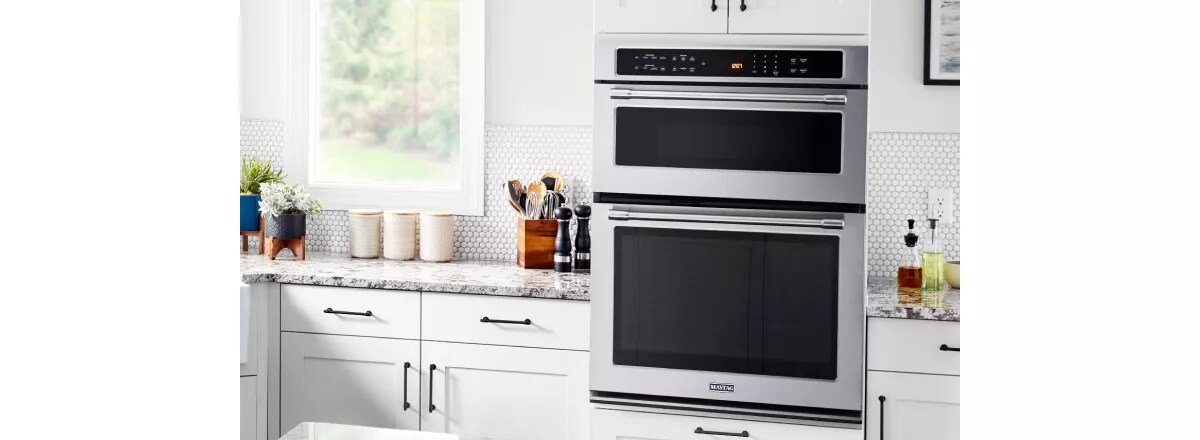
If you're looking to make more room for your cooking, baking and roasting, a wall oven can be a great addition to your kitchen. These ovens are designed to do the heavy lifting when cooking and can provide great results so you can get dinner on the table quickly. If you've recently purchased a new oven, use this guide for help with how to install a wall oven in your kitchen.
This guide will provide you with a step-by-step overview of how to install a wall oven. Installing your new oven shouldn't take more than a few hours with the help of another person but remember that you should reference your installation instructions for full details and specific measurements you'll need. If you don't feel comfortable working with electrical wiring or aren't familiar with installing appliances, then hiring a professional is recommended.
For those purchasing a Maytag ® wall oven, professional installation services are available for your convenience and ease of mind.
Installation instructions
Thread sealant (if installing a gas oven)
Phillips screwdriver
Non-contact electrical tester
Flat-blade screwdriver
Measure the opening of your cabinet as well as the oven itself to make sure that you have the required space clearance to complete the installation. Standard wall oven sizes typically come in widths of 24, 27, and 30 inches, with heights varying if it's a single, double or combination oven. Reference your installation instructions to determine the exact measurements you'll need. If you’re cutting a new opening for your wall oven, make sure that you leave about ¼" of clearance on each side.
Switch off the electricity at the fuse box before beginning the installation. Make sure that the power has been completely turned off by using a non-contact electrical tester.
Carefully remove the new oven from its packaging and use either the flattened box it came in or a blanket to place the new oven near the installation spot. Placing it on top of the box or blanket will help reduce the chances of damaging your floors.
Remove the door from the existing oven, if there is one. If removing a combination or double oven, you'll want to remove both sets of doors. Do the same with the new oven as well to make lifting and positioning the oven easier. Place the door or doors handle-side down on a piece of cardboard or blanket.
For more information regarding the parts of an oven review this Guide To Oven Parts .
Loosen the anchoring screws present while the second person supports the weight of the oven. Carefully remove the oven from the cabinet opening and cut the electrical wiring connecting the oven to the junction box.
The junction box should be either 3 inches above or below the cabinet cutout. If you don't see a junction box, then it may be behind the drywall of the cutout and you'll have to cut an opening to reach the box and connect the wiring.
Tilt the new oven onto its back carefully with the help of a second person, making sure to place it on the cardboard to help avoid damage. Use your installation instructions for specifics, since how you attach the feet will depend on the height of your cutout, as well as if you're installing a single or double oven.
Again, using your installation guide for specifics on how to connect the wiring, strip the wires from the junction box and the oven. Using wire connectors, connect each wire to each of the corresponding colors—typically red, white and black with green or bare copper corresponding to the grounding wire.
If installing a gas oven: Use thread sealant and brush onto the gas nipple, thread the gas valve coupler from the oven to the nipple and adjust with an adjustable wrench. With either an approved, non-corrosive leak-detection solution or with water and soap mixed into a spray bottle, check to make sure that the gas line is tightly sealed. Turn the gas line back on, and if you see large bubbles, it means that the gas line has a leak, and you'll need to tighten it. If no bubbles appear, connect the oven into a wall outlet.
Lift the oven into the opening of your cabinet with the help of a second person to distribute the weight of the oven. Secure the anchoring screws so that the oven stays in place, and reattach the oven doors along with any trimming.
You will need a cabinet or a built-in wall in order to install a wall oven, since it requires room for the cooking cavity and electronic parts of the oven.
Whether or not you need an electrician depends on how comfortable you feel with installations that require working with electricity. If this is something that you haven't done before or if you're unfamiliar with working with electrical wiring, then hiring an electrician is strongly recommended.
Oven prices vary greatly depending on brand, model and whether it's a single, double or combination oven . However, prices for Maytag ® wall ovens can generally range anywhere from $1000 to $3000. Cost of installation may depend on the complexity of the installation as well as your home's location.
You should only take on the task of installing your wall oven if you have at least some experience installing other appliances or working with electrical wiring. If you don't have experience with either, then it may be best to hire a professional to complete the installation.
Get dinner done quicker with features on select Maytag ® wall ovens that deliver serious cooking power
Explore Maytag ® kitchen appliances designed to power through mealtime and cleanup and look good while doing it
Your subscription was successful
Thank you for signing up. Keep an eye on your inbox for our next newsletter.
Enjoy articles like this? Get helpful guides and appliance care tips sent straight to your inbox.