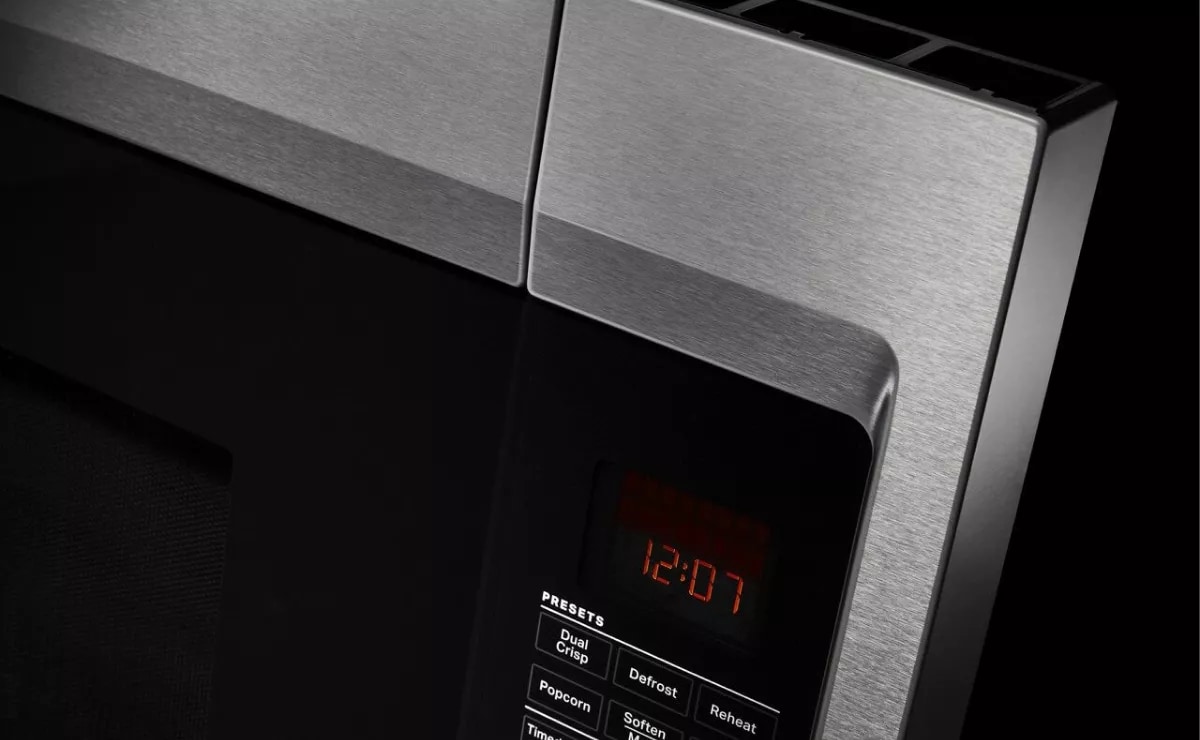
Installing an over-the-range microwave hood combination can free up counter space and help provide powerful ventilation and air-clearing abilities. Learn how to tackle this project yourself with a few tools and this step-by-step overview of the process.
Make sure to always consult the installation instructions for your model for exact directions. If you are looking to upgrade or replace your current appliance, Maytag brand offers a wide selection of dependable over-the-range microwaves for your home.
This nine-step guide provides a general overview of everything from measuring your cutout space, to locating wall studs and installing your microwave above the range. Be mindful to always follow your owner’s manual for guidance. If you have questions or concerns about electrical wiring or ventilation, consider consulting a professional for assistance.
For your over-the-range microwave installation, enlist the help of another person for assistance moving the appliance. From start to finish, plan for about two hours to complete the process. These steps may be followed for other types of microwaves , such as low-profile models, but keep in mind the dimensions may vary.
Please note that this guide takes into account an existing cutout space above your range with the required electrical connections and ventilation in place. If electrical requirements or ductwork need to be addressed, consult a professional for assistance . Remember to always follow your microwave installation guide for specific instructions.
Phillips screwdriver
Drill and drill bits
Mounting bracket (this may also be used as the template if cardboard is not present)
First, unplug your range and carefully slide it away from the work area with the help of another person.
Place a drop cloth across the floor to cover the work surface.
Depending on your model, the mounting plate may be attached to the back of the microwave or placed in foam packaging.
Tape the microwave doors shut to avoid the door swinging open during the installation process.
With your stud finder, locate the edges of the wall studs within the cutout space. The microwave needs at least one wall stud for installation, but two are ideal. If wall studs are not present, do not install the microwave above the range.
Mark the center of each stud, and draw a vertical line down from each stud center.
Using the stud markings from the previous step, align the center markings on the cardboard template to the centerline on the wall. Make sure that the template is level and flush with the bottom edge of the upper cabinet. If a template is not included with your microwave, the mounting bracket may be used as a substitute.
Holding the template in place, mark the two drill holes in the lower corners, and draw a horizontal line along the bottom edge of the template.
Find the vertical lines for each stud drawn in Step 3. Mark at least one drill hole closest to these lines.
This horizontal line drawn at the bottom will notate the end holes and bottom edge of the mounting bracket. For specific instructions for drilling holes near one or more studs, refer to your owner’s manual for more information.
After the markings have been made, drill holes in the rear wall at each bottom corner and stud locations.
Secure the mounting plate to the wall at both end holes with bolts or lag screws.
Remove all contents of the cabinet above your cutout space.
Align the cardboard template to the bottom of the cabinet.
Ensure that the template centerlines match the vertical lines drawn on the wall. If your template has “rear wall” arrows, make sure they are against the rear wall. This allows for an accurate hole placement for the microwave power cord in the upper cabinet.
Using a keyhole saw, follow the template to cut a hole big enough for the power cord to flow through to the cabinet. Refer to your microwave installation guide for specific instructions and hole sizes for your model.
With the help of another person, lift the microwave and place it on the support tabs at the bottom of the mounting plate.
Tilt the appliance toward you, and thread the power cord through the hole into the upper cabinet.
Rotate the microwave up toward the cabinet and hold it in place against the mounting plate.
With another person holding the microwave in place, insert bolts through the bottom of the upper cabinet into the appliance. Tighten until the microwave is flush with the cabinet.
Plug in your microwave, clear the workspace and enjoy!
Powerful microwave range hood combinations from Maytag ® can help you look forward to leftovers with settings designed to deliver delicious microwaved meals.
Whether you are looking for light bulbs, filters or mounting brackets, Maytag has you covered with a wide selection of microwave replacement parts and accessories . Consult a professional if you need help identifying the correct part.
Questions about your over-the-range microwave installation? Refer to the FAQs below for more insight on tackling this project.
For DIY installation, enlist the help of another person to mount an over-the-range microwave. For professional installation , Maytag provides appliance service and delivery that you can count on.
An above-the-range microwave does not need to have ventilation to the outdoors. These models may be installed with a fan configuration that circulates air indoors. As an alternative, countertop microwaves are also configured for use without special installation or ventilation needs.
The amount of space that you’ll need around your microwave for ventilation can depend on the type of microwave. Countertop microwaves generally require a 1 inch ventilation space from the back of the appliance to the wall. If venting through your roof, installing a Maytag ® over-the-range microwave requires at least 3 inches of clearance space between the top of the microwave oven and the transition piece. Check your user’s manual for model-specific installation instructions.
Installing a range hood vent through the wall may require adjustments to the ventilation system in your home. This may vary depending on your circumstances. Refer to your appliance installation guide and consult a professional for assistance.
Wiring a range hood requires proper grounding and electrical connections. Consult a licensed electrician for any electrical concerns.
An over-the-range microwave typically comes with a mounting kit and installation instructions. Check your user’s manual to confirm that all the parts are included with your microwave.
A microwave trim kit is a trim frame that can be installed around your microwave to cover any gaps around the appliance for a seamless integration with your kitchen cabinets. A trim kit is more likely to be used to create a built-in look when mounting a countertop microwave above your range. It’s generally not necessary for an over-the-range microwave.
Maytag ® range hoods are available in undercabinet, wall mount and island mount configurations to help remove smoke and cooking odors from your home. For dependable ventilation you can trust, a Maytag brand range hood can get the job done. If you’re not sure which hood is right for you, explore the differences between microwave range hood combinations vs range hoods .
Your subscription was successful
Thank you for signing up. Keep an eye on your inbox for our next newsletter.
Enjoy articles like this? Get helpful guides and appliance care tips sent straight to your inbox.