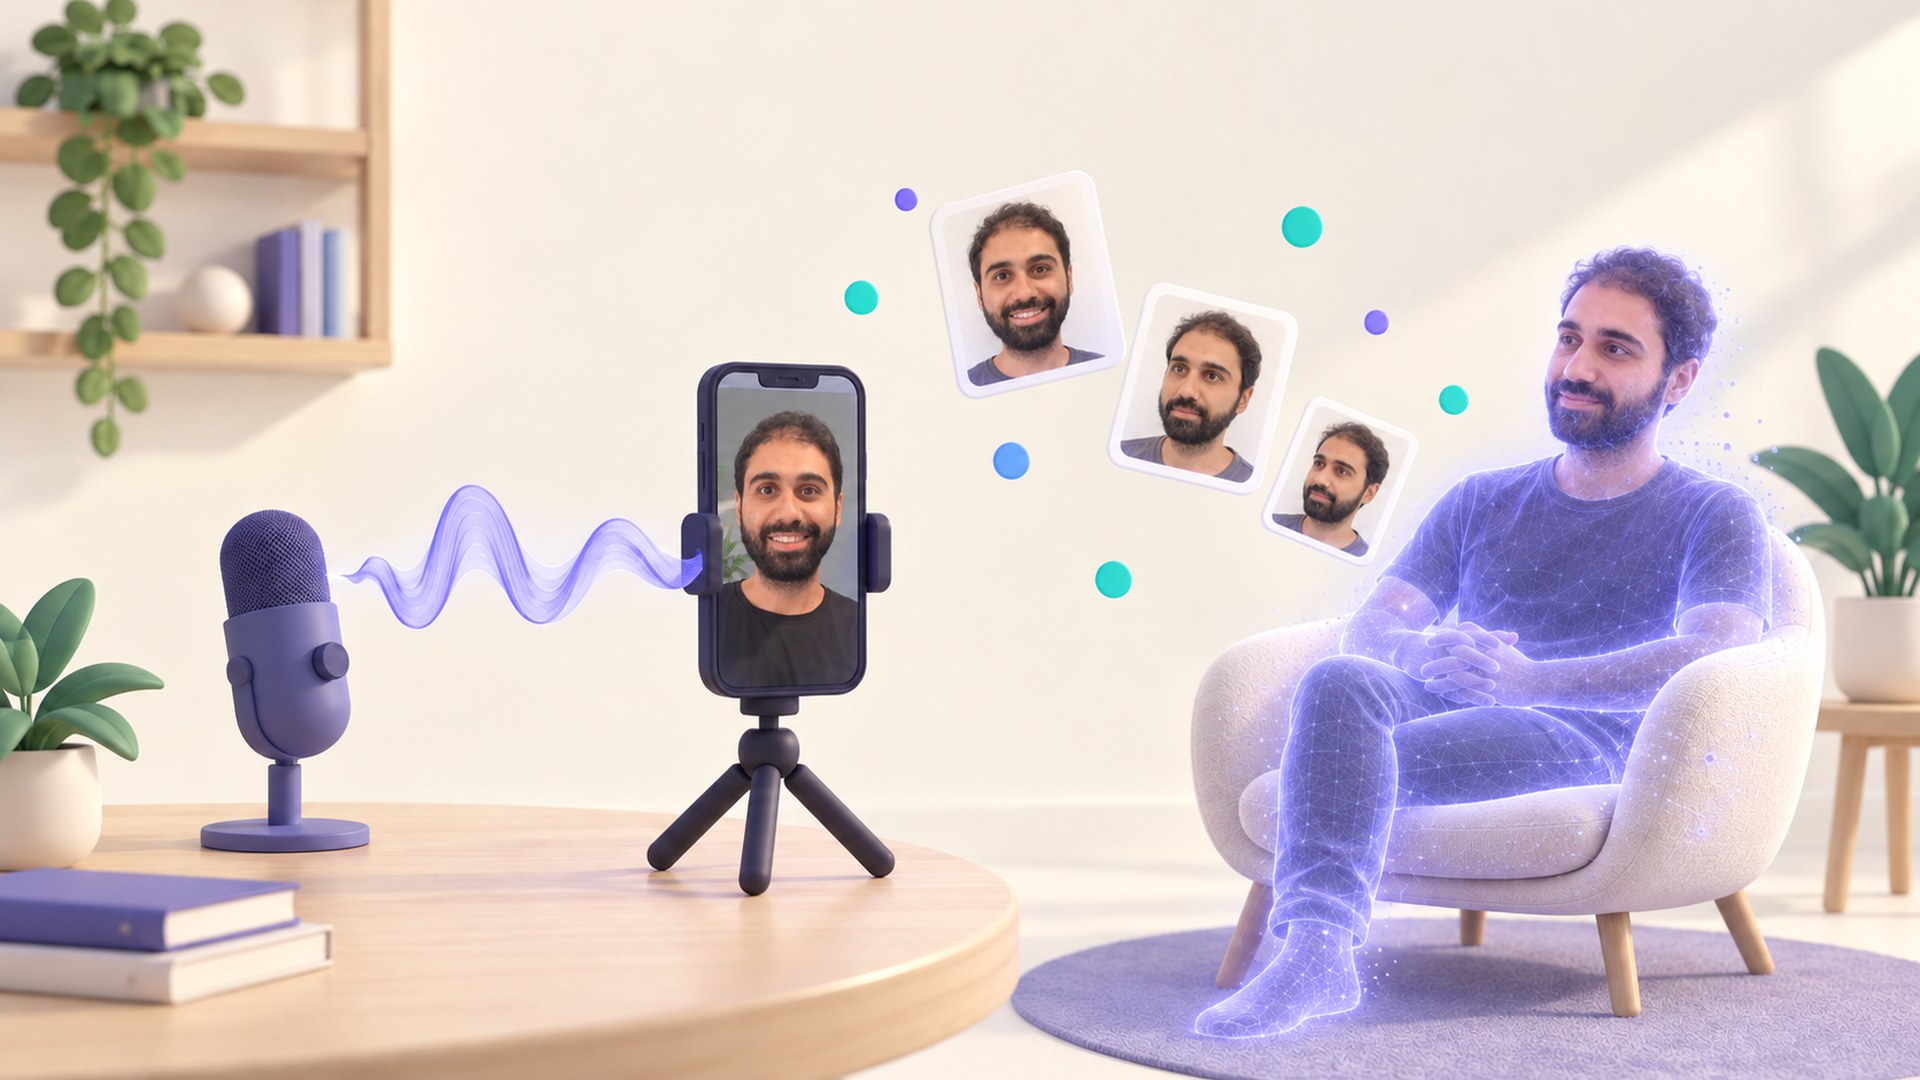
I ran 15 experiments to clone myself: 16 tools, over 140 test videos of my face, and over $240 of my own money. Two tools survived, HeyGen and Seedance 2.5, and they are good at different jobs. The one problem no tool solved is the voice. Every clone said my words in someone else's accent, so I put my real recording back. This page is the recipe for both tools, every prompt I ran, what to record, and the small script that brings your real voice back.
This page is the written version of my AI clone video. The video shows everything moving. This page has every file behind it.
Three clips. Same 14 seconds, same words. One is my real camera. One is HeyGen. One is Seedance 2.5.
Click a clip to play it. They start muted, so judge the picture: the face, the mouth, the hands. Pick the one you think is real, then open the answer.
A is Seedance 2.5. B is my real camera. C is HeyGen.
One audio track under all three: my real recording. The sound gives nothing away, and that is the whole point of this guide.
Clips you open after the reveal play with sound.
Most of what I tried failed. You will probably be tempted by some of these, so here is all of it in one place.
Sixteen tools and routes, what I used each one for, and why it lost. Most are video models (they make the whole scene, not only your face) or lipsync tools (they repaint the mouth after the video is made, to match a voice). The two green rows are the ones that survived.
Three of them are worth seeing, because you will probably try them.
Google says it plainly in its Omni launch post : "only voice references will be supported for audio to start". A voice reference is the sample you record once when you set up the avatar. It is not your line. I could put my real voice back afterwards, the same trick I use on Seedance below, and the lip sync held. What kept Omni off my list in the end is the length: 8 to 10 seconds a clip. If Google adds audio input and longer clips, I think Omni goes to the top of this list.
The last one is the voice. I tried five ways to clone my voice, and in all five it was not my accent:
Remember this one. It comes back later, with the fix.
Two tools survived, and they do different jobs. HeyGen is a talking-head tool. You record yourself once, it builds your twin, and then you upload any audio and the twin says it. Seedance 2.5 is a video model, so you can be anywhere, doing anything.
So the choice is simple:
If you only want to talk to camera, HeyGen at $4 a minute and one good recording is enough. You do not need Seedance.
Seedance costs about 3.5 times more per minute, and the video reference doubles that again, because you pay for every second of the reference too. (A reference is a file the model copies from. Here it is a short video of you.)
Neither tool can speak in my accent, in any mode I tried. If your accent is part of your channel, plan on putting your real recording back every time.
About the 720p: that is what I used, not a limit. 1080p is on the price list at $0.569 a second, about 2.5 times the 720p price. I never rendered it, so I cannot tell you if it is worth it.
HeyGen is the easy one. It comes down to three things: the footage, the voice, and one small trick.
My first twin came from footage I already had, calm and in Arabic. Look at the teeth: one flat white band, like piano keys.
It was not the resolution: I tested that, and the band stayed. The fix was new footage, shot only for the twin: my real on-camera energy, my teeth visible, even light on my face, in English. I changed all of that at once, so I cannot tell you which part mattered most. That twin is the one I still use. The full shooting checklist is in the recording section .
HeyGen has more than one avatar engine. Avatar V beat Avatar IV for me: 2.1 times faster to render, finer detail, and calmer hands.
HeyGen can clone your voice. For my accent it was very bad. So record your line and upload it. The twin lip-syncs to your recording, so the voice is really yours.
If you have a plain American or British accent, the voice clone might work for you. Test it yourself before you trust it.
In HeyGen you can add a photo of yourself as a new look, like a different shirt or a different room. It cost me $1 per look, and I measured that twice. Now crop the same photo a bit tighter and add it again as a second look. You have two cameras in the same room, a wide one and a close one, and you can cut between them like a real shoot.
To be exact: the look in this demo was generated inside HeyGen from a prompt (me in a hoodie, in an office), then cropped. A look made from a real photo of me worked too.
Seedance needs more work. But when you want a real scene, the result is on another level. You need five things.
This one cost me time. I tried Seedance 2.5 on fal first and uploaded my face. It refused. That happened once, I did not retry, and the same files went through on Seedance 2.0. This is what fal sent back:
Then I went to ModelArk , the BytePlus API that runs Seedance 2.5. It refused too. Photos and video are checked separately, so they fail with two different codes:
The images in those first refusals were AI-made reference sheets of my face, built from a photo of me. The check looks at the likeness, not at where the image came from.
Verifying my account (KYC) did not fix it. What fixed it was registering my face. In the ModelArk console: Playground → "Add Real-Human Assets to ModelArk Library" → likeness authorization . You upload your photos and your video there and confirm that it is really you. Each file becomes a likeness asset (your face, registered and approved in the console) with an asset:// id, and that id goes in the request instead of the file.
Three things I learned the hard way:
The model id is dreamina-seedance-2-5-260628 , on ark.ap-southeast.bytepluses.com . It is an async API: you submit a task, you get an id back, and you ask for the result until it is ready.
This is the request body. You send it with POST /api/v3/contents/generations/tasks and your API key, and you get back a task id. In the prompt, the files are named in the order you attach them: @Image1 to @Image3 , @Video1 , @Audio1 .
You do not have to write the HTTP calls yourself. The zip has modelark_seedance.py , which submits, saves the task id, waits, and downloads the mp4. It needs Python and the requests package. Install that once, in your terminal:
Then put your ModelArk API key in an environment variable. On Windows, in PowerShell:
On macOS or Linux, in the terminal:
Then run this in the folder where you unzipped the files, with your own asset:// ids and the public link to your recording. It prints the status every 10 seconds and saves take-1.mp4 when the render is done:
Add --dry-run to that command to print the request without sending it. That costs nothing.
3 or 4 real photos of you: front, front with a smile where your teeth show, three-quarter, and the side with your ear visible. Take them the same day, in the same light, in the same shirt. These are my four:
Now look at this. I wrote in the prompt "a slight natural smile", and I got a smile. But it is not my smile. When I added a real photo of me smiling, I got my smile. It happened the same way on Seedance 2.0 and on 2.5.
The expression comes from the photos, not from the prompt.
The photos carry your shirt too. My grey tee came back without a word about clothes in the prompt. There is one exception: when a video of you shows a different shirt, the video wins. More on that in thing 4.
Record the exact words you want the clone to say, with your voice and your mic, and attach it as the audio reference ( @Audio1 ). The model says those words back word for word: the transcript of my render matched my line exactly. And it says them in my tone.
Look at the difference. Same prompt, same photos. On the left, no recording: the words are right, but it is a stranger's voice. On the right, with my recording: my tone, my words.
Here is something I did not expect. The recording controls the acting too. Where I paused in my recording, the clone made a big grin. Where I got louder, it threw its hands. The prompt for this take even asked for "one small breath of a smile" that "does not widen". The recording won.
first-step-11s.wav · my recording, 11.5 s
So the way you read the line is the way the clone acts it. If you want a calm take, read it calm. The talking-head prompt in the scene prompts names that pause and tells the face to rest through it. In the one take I measured, the face stayed calm through the pause.
One more thing: the level. Normalise your take to about -21 LUFS (a loudness number your audio editor shows). My raw takes came in at -39 LUFS. I brought them up to match the take that had worked, so loudness was not one more thing changing between tests.
This is the one that surprised me the most. A short video of you talking, 14 seconds is enough. You register it like the photos and attach it as @Video1 .
On the left, my real camera. On the right, the clone. It rebuilt my real room: the painting, the headboard, even the plush toys and the nightstand.
Before the video reference, I described my room in the prompt, in detail: the headboard, the toys, the painting of a tree. I got a different room. Yellow walls, a square painting, a bee plush. And it sat me on the bed.
Words describe a kind of room. Only the video shows the model your room.
Then the framing. Before the video reference I had to generate every clip twice and keep the one that matched. With it, I generated 7 clips, and all 7 framed within 1.5% of my real camera. The number under each take is how much bigger or smaller my face is than in my real footage:
Face size against my real camera
one take within 1.5% my real footage against itself (+3.0%)
Do not read an order into those seven. Two identical requests landed 1.1 points apart, so these are the same result, repeated. For scale: two moments of my real footage differ by 3.0% on the same measure.
The video also wins over the photos when they disagree. My photos show a grey tee. My video shows a blue one. The clone came back in blue, and the prompt said nothing about clothes.
In my tests it also seemed to help the lips.
The catch is the price. ModelArk bills every second of the reference at the same rate as the output. A 14-second reference on a 14-second clip is exactly double: $3.23 becomes $6.46 at 720p.
You will like this one, because it is short. 1,133 characters, five small paragraphs:
This is the exact prompt behind take 4 in the strip above. Paste it into the text part of the request (or save it as the prompt file for the script). Swap my quoted line for yours, word for word as you said it:
My first prompt was almost double this, 1,997 characters. It had a long description of my room, a paragraph for my shirt, and a sentence about the camera position. I deleted them in two rounds, and nothing changed in the result, because the references already show all of it. This is that first prompt, with the parts I deleted struck out:
After both cuts, the room score read 0.825, the same as before, and the framing landed at +0.1%. So the rule is simple: don't describe in the prompt what the model can already see.
One more thing. If you want a more real scene, write the prompt like a timeline: [0s-4s] he does this, [4s-9s] he looks away and says that. The food hall prompt I ran has six timed beats, and the render followed all six, in order:
It even changed the framing on the beats: close for beats 2 and 3, wider again from beat 4. To be exact about how: the move in at 4.1 seconds is a hard cut inside the render, not a camera move. The way back out, near 13.8 seconds, starts with a cut and keeps widening for about a second. The shot list changed the framing inside one clip, from one prompt. The full food hall prompt is in the scene prompts .
This is the part you do before any render. The same checklists are in the zip as four small files.
These are the cafe, the street and the scorpion. Same recipe: my photos, my recording and a prompt, just no video reference.
What makes them look real is not what you think. Three rules.
1. Ask for a phone video, not a beautiful video. Look at the cafe prompt: the front camera of a phone propped against a water glass, tilted up a little, not quite level. Flat, plain daylight. A little phone-camera noise in the shadows. A crumpled napkin on the table. The more ordinary you make it, the more real it looks.
2. Write a timeline. From 0 to 4 seconds I am not even talking, I am stirring the coffee. Then I look at the camera and say the line. Then I take a sip and look around. Real people don't stare at the camera the whole time.
3. Leave silences in the audio. In the food hall I am eating. I recorded my lines at my normal pace, then placed each one on its beat with my own room tone in between, so there is silence where I chew. The clone eats in my silence.
These are the exact prompts I ran. Each one goes in the text part of the request, with your three registered photos as @Image1 to @Image3 and your recording as @Audio1 . Swap my lines for yours.
This one is not mine. I took the prompt from a tutorial video on YouTube, changed "she" to "he", and added the first line that names my photos. It never names @Audio1 : I attached my recording anyway, re-timed onto the beats, and the model used it.
This one is a desk shot. @Image4 is a generated still of me at my desk, made from a snapshot of my real office and registered like the photos. It is also the prompt that names the pause in my recording and tells the face to rest through it. My verdict on the late takes from it: "near-real, maybe it is not distinguishable by a stranger".
One honest note: in four runs of this prompt, two of them with my video reference attached, the framing never matched my still. The best take was one of the two with the video. I think the long "how he moves" paragraph between the shot line and the beats costs it. Moving that paragraph below the dialogue line is my untested fix.
Without a video reference, the framing changes every time. These are two runs of that last prompt without it, same everything:
So generate two and keep the better one. Across my other desk prompts without a video reference, the framing came out right 8 times in 12. This long prompt went 0 for 4.
Remember the voice problem? Five tries, never my accent. Here is why, and the fix.
Seedance does not copy your recording. It listens to it and says it again in its own way. The lab numbers agree: the render's audio barely matches my waveform (a peak cross-correlation of 0.18, where a copy would score 1.0), and in one take it dropped an "uh" that I actually said. It re-performs the words. And its own way is not my accent.
So I never use the audio that comes out of Seedance. I take my real recording and put it back over the video, sentence by sentence, at the moment the render starts each sentence. It works because the clone says the same words at almost the same speed as me:
Three of the four sentences needed no stretching at all, just placement. The first one the render drawled, and I left it honest instead of stretching my voice to fit.
For a scene with sound, a street or a cafe, dead room tone sounds fake. Keep the render's own soundtrack as the bed, cut the model's voice out of its speech windows, fill those holes with sound from a nearby quiet stretch, and lay your sentences on top. That is what the cafe and street clips above use.
The script does all of this. It needs Python, numpy, soundfile and ffmpeg. Install the two Python packages once, in your terminal:
Then run it in the folder with your render and your recording. Each --map is one sentence: where it starts and ends in your recording, and where the render starts saying it. These four are the real ones from the clip above. It writes a new mp4 with your voice on it, and prints where each sentence landed:
The numbers come from a transcript with word times of both files, from AssemblyAI or Whisper. Same words in the same order, so sentence 3 in your recording is sentence 3 in the render. --auto guesses them from loudness as a first look, but it hears a breath as the start of a sentence, so use transcript times for the version you keep. For a scene with sound, add --ambient and one --patch per speech window. python relink_voice.py --help explains every option.
I tested it on the before and after clips above: every sentence landed on the same audio sample as my original relink.
In HeyGen you do not need this step. Your audio is already the input.
This is where I lost most of mine. What renders cost me on ModelArk, billed in tokens at $10.67 per million:
I tested the room recipe on one clip: one room, one shot, 14 seconds, sitting down. I do not know yet how it holds in other rooms, with movement, or on longer takes.
Download the zip (20 KB) →
Or copy each prompt from its section: the short talking-head prompt , the cafe , the street , the food hall , and the talking head with timed beats .
Not in any video tool I tested. Five voices failed the same way: HeyGen's voice clone, Synthesia's voice clone, Google Omni, Seedance's own voice, and Seedance driven by my own recording. They got my tone, never my accent. So record the line yourself. Upload it to HeyGen, and put it back over the video for Seedance with the relink script.
HeyGen if you talk to camera: $4 a minute, and longer videos in one render (67 seconds was my longest test). Seedance 2.5 if you want yourself in a real scene or a Short: about $14 a minute at 720p, 30 seconds per clip, and more setup. If talking to camera is all you do, you do not need Seedance.
Real faces are moderated. On fal, Seedance 2.5 refused my face with content_policy_violation and partner_validation_failed. That happened once and I did not retry. On ModelArk, images of my face came back with InputImageSensitiveContentDetected.PrivacyInformation and my video with InputVideoSensitiveContentDetected.PrivacyInformation. The fix on ModelArk is to register each photo and video as a likeness asset in the console and send its asset:// id. Verifying my account (KYC) did not fix it. A refused request costs $0.
Only if you want your real room and your real framing back. Scenes work from photos, your recording and a prompt. With the reference, all 7 of my takes framed within 1.5% of my real camera. Without it, generate two and keep the better one. It doubles the price of a 14 second clip.
You can, but the words come back garbled and in the wrong accent. When I asked the model to say new words in my voice, 'Break the problem into small pieces' came back as 'Break the problem in intencel, we mothold ices'. With a recording of the line, the transcript matched my line word for word. Record it.
For 1080p I cannot tell you: I never rendered it. It is on the price list at $0.569 a second against $0.231 for 720p, about 2.5 times more. For the upscale, Topaz at 1.5x cost me about $0.24 per 12 seconds. My texture measurement got worse, and my eye liked the result. Try one clip before you upscale a batch.
HeyGen: I rendered 67 seconds in one go, and that is the longest I tested. Seedance 2.5: 4 to 30 seconds per clip, any length in between. With a 14 second video reference your line gets about 16 seconds, because the audio and video references are capped at 30.2 seconds together.
You should not try. ModelArk ties each registered photo and video to a likeness authorization. Synthesia made me record a consent line with a passcode they generate before it cloned my voice. Google Omni ties the avatar to a consent step on your own Google account. I did not test what HeyGen asks, so check their help center. Not every tool checks: some models on fal took images of my face with no questions asked. So the rule is on you: clone yourself, or someone who clearly agreed to it.
Record the line. The clone does the rest.
Hasan Aboul Hasan builds open-source tools and teaches solo developers how to build, host, and sell AI-powered products. Founder of LearnWithHasan.com , creator of SimplerLLM and PyRunner .
The exact building blocks I use to ship real products with AI — yours as a free PDF.
Have a question? Ask it in the community — it's tagged #guide and linked back here. Reading is open to everyone; posting needs a free account.