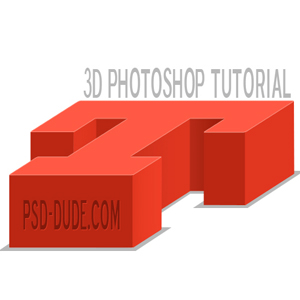
From this simple tutorial you will learn how to create a perfect 3D letter in Photoshop. Putting together more 3D letters you will obtain a cool 3D text effect. In just a few simple steps you will transform your boring 2D text into a cool 3D effect. I really hope you find it useful!
When you want to transform a simple letter into a 3D letter there are some things that you need to take into account. First you need a proper font, simple and without decorations. Usually the handwriting font families, like Amienne, Giddyup, Segoe, etc are not fit for 3D transformation.
I like to set the Font Style to Bold, usually the Normal style is too thin. And of course to obtain a more visible 3D effect you need to work with big font size (70 - 100 px depending on the font family). Between lower-case letter and upper-case letter I prefer to work with the last one. You will see that the 3D effect is much better for upper-case letters.
For 3D transformation we need to work with every single letter and transform it into 3D. So it involves a certain amount of work. For that reason keep your text short. There are two types of letters that need specific treatment: the ones that have only straight corners or angles and the ones with angles and round shapes.
Now I will start the 3D process by adding depth to this letter. You can of course change the perspective(vertical for example) of this letter but I prefer this one. Duplicate the T Layer and call it T1 Layer. Change the color for both layers as follows: T Layer #fe4e37 and T1 Layer #ce301b. Move the T1 Layer up like in the image.
DOWNLOAD! PSD FILE (67.5KB)
Cardboard Texture Photoshop Tutorial
Box Photoshop Tutorial