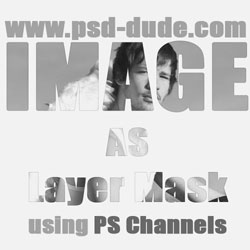
In this quick tutorial you will learn how to use Photoshop channels to create a layer mask from a grayscale image. You can easily mask an image with another image in Photoshop; you can create interesting effects by combining photos with text for example. Al you have to do is to mask the image layer with a texture containing a handwritten text. You can also check out our Photoshop tutorials for beginners for more basics.
In this tutorial you will learn how to convert an image to layer mask in Photoshop using channels . This is a very useful Photoshop tip that will help you create interesting effects using any grayscale image as mask for text, shapes or other images.
Start with a simple Text Layer ; I will use different colors for the letters to see the image mask effect. he opacity of the text layer is 100%
Add an empty layer mask
I will use this angel stock image as mask for the text layer. You can of course use any image you want like grunge textures for example.
Simply copy the image(right click on the image and choose Copy Image ) and return to Photoshop. Go to the Channels Tab and make the Text layer Mask visible.
Press CTRL+V to paste the image into the Text layer Mask from the Channels Tab
While the image is still selected you can use the Move Tool to place it whee you want it to be. You can also use the Transform Tool to resize image and so on.
Return to the Layers Tab and as you can see in the layer mask of the text layer you have a grayscale image
Click on the layer mak thumbnail and press CTRL+I to invert image ; you can now see the effect of the image layer mask . You can use adjsutments for the image mask as for example the Brightness/Contrast to adjust the result. As you can see the opacity of the text layer dropped accordingly to the graycale map of the image used.
Create a Fantasy Castle in Photoshop Inspired by The Movie Alice in Wonderland
Create a Sticker in Photoshop