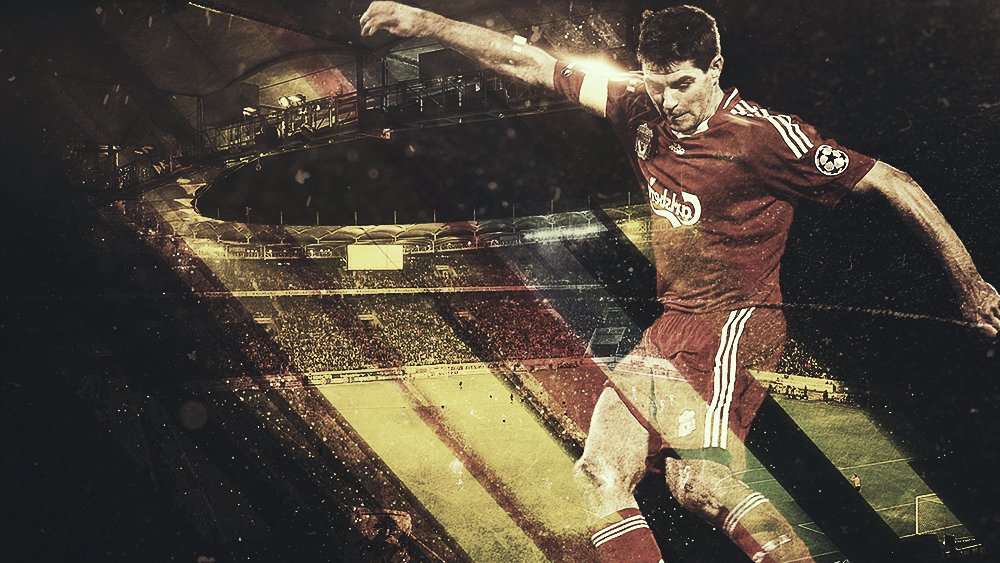
The 2018 FIFA World Cup is a quadrennial international football tournament. 2018 FIFA World Cup is held in Russia from 14 June. It will end with the final match on 15 July 2018.
Learn how to create a soccer sports event poster in Photoshop using some basic blending techniques. You can personalize the poster by simply changing the abstract wallpaper image, the football player and the stadium stock image. That way you can create sport poster templates for any event you want like tennis, box, athletics, etc.
First you have to download the stock images that I have used for the Sport Event Poster tutorial :
Create new file with dimensions 1920x1080px and open the Rain Texture and add it into the new file. Resize it pressing CTRL+T. Blend mode is set to Overlay and opacity is set to 50%.
Now place the Colored Lines Abstract Wallpaper . Also open the Football Stadium stock image. Resize the stadium with the Transform Tool and set the blend mode to Multiply .
Open the Steven Gerrard stock image . This is a premium image from 123fr.com but you can of course replace it with any football player that you like. You can even use this tutorial for other sport events other than soccer. You can use it for American football for tennis or even box events.
Now we have to remove the background. To remove background in Photoshop you can use one of these Selection Tools : Quick Selection Tool , Magic Wand Tool , Polygonal Lasso Tool . If you want to obtain perfect results, the best cutout image method is to create a selection with the Pen Tool .
I will use the Quick Selection Tool to select the football player. Brush Size is set to 33. Create a layer mask to delete some parts in case your selection is not that good. That way you obtain a non destructive cutout effect. To delete some areas, use the Brush Tool with color black inside the mask layer.
Select Colorful Lines Wallpaper and Gerrad Image, use transform (CTRL+T) and Flip Horizontaly . Blend mode for Gerrard Layer is set to Lighten . That way we obtain a cool double exposure effect using the two overlaped images.
Open the Grungy Paper Texture and rotate it. Blend mode is set to Soft Light 10% opacity level.
Place Grunge Texture and set the blend mode to Overlay .
Now place Dust Texture and set the blend mode to Lighten with opacity to 70%. Create a layer mask and use the brush tool with foreground color black to paint inside the mask. Now delete the darker parts (red color areas) as shown in the picture. Opacity of the brush is set to 35%.
Place Snow Texture stock image and set Blend Mode to Lighten Color with opacity 30%.
Open Flare Texture and set the blend mode to Screen . Create a layer mask and use the brush tool to delete the edges.
Place Particles stock image and set blend mode to Color Dodge with opacity 25%
For those of you that do not have CS6 and the Color Lookup Adjustment , you can use another Adjustment Layer > Gradient Map (colors for the gradient #872f2f and #fbfde6). Set the blend mode to Overlay . Also add a Photo Filter , color #a0c6d7 and density 50%
Hold CTRL+SHIFT+ALT+E to merge all layers and go to Filter > Other > High Pass and set the radius to 2. Blend Mode is set to Overlay with Opacity 50%.
You can use this image as background for your football match score board . All you have to do is to download for free the score board PSD and to customize it adding team names, score, goals,etc.
Create a Retro Comic Book Effect in Photoshop
Design a Wedding Invitation with Photoshop and Textturizer